If social distancing and COVID-19 restrictions have put your professional shoots on pause, it might be time to set up your very own home photography studio?
With just a few tools and tips, you can create beautiful, visual content for your business or personal brand at home — sweatpants optional, but highly recommended!
To help you set up your home photo studio, we asked photographer Dante Nicholas to talk through the process and share his 9 tips for taking killer products shots at home:

How To Set Up a Home Photography Studio
Being able to set up a home photography studio is not only convenient but breaks down any barrier holding you back from showcasing your products with your audience.
And once you have your studio set up, you might find that translating content ideas and inspo from your head into real-world, social media posts can be done much faster. No time spent waiting on studio schedules!
Check out how photographers like Taylor Hunter are creating stunning at-home product photoshoots with minimal fuss:
Plus, the best news is that setting up your own content studio can be relatively cheap — even an iPhone camera can get you started.
Here are some essentials that we’d recommend, no matter your experience level:
For starters:
Primary camera: Any camera phone or entry-level camera will do!
Camera tripod: Xenvo SquidGrip Flexible Cell Phone Tripod or GEEKOTO Camera Tripod
Lighting: natural light is more than enough, but if you’re looking for something extra,
LED Ring Light 10″ with Tripod Stand & Phone Holder (smaller) or Neewer LED Ring Light (larger) are good additions.
Backdrops: We recommend using household items like bedsheets, curtains, etc. They’re budget-friendly and are super on-trend!
A stand, chair or table to set your products on.
Props: Succulents, small mirrors, decorative household items, etc. will also helping in bringing your brand to life!
For the pros:
Primary camera: Sony A7III (28-70mm Lens)
A camera tripod: like this one from GEEKOTO Camera Tripod – with a multi-angle center column will come extra in handy if you like the flat-lay photo style.
Lighting: ESDII Softbox Lighting Kit
Extra memory cards: SanDisk 64GB Extreme Pro SDXC
Backdrops: Studio-98 Photography 10′ Wide x 7′ FT High Background Stand + SAVAGE 107IN X 36FT Backdrop
Want to expand your kit list? We have 16 budget-friendly tools perfect for Instagram content creators in this blog post!
8 Tips for Taking Beautiful Product Shots at Home
So, now you’re ready to set up your own DIY photo studio!
If this is your first step into taking product shots at home, remember you can make the process as simple or as complex as you like. Don’t worry if all you’re working with is just an iPhone and great natural light — you’ll still get some awesome results!
We’ll talk through our top tips on getting set up the scene, nailing your shot, and sharing your new product collection on social:
Home Photography Studio Tip #1: Find the Best Natural Light in Your Space
Every home or apartment will be different, but try to find a room or area with the best natural light!
It may be a corner of your bedroom, living room, even your kitchen table — anywhere with great organic light will be ideal for setting up a studio space.
Home Photography Studio Tip #2: Design Your “Set”
Once you’ve figured out an area with good lighting, you’ll need to designate a certain amount of small space for your “set”.
A blank wall could be handy here, but if you don’t have one, don’t worry. You can also use a kitchen/bathroom counter, a stool in the middle of a room, etc. Whatever looks and works best to you and your overall Instagram aesthetic:
When it comes to backdrops, using your wall’s natural color will definitely be enough to get you started.
However, be sure to try out different fabrics and backgrounds to add character and a branded touch to your photos.
Something that’s super on-trend right now is using bedsheets as a backdrop. It’s easy, affordable and will add an extra dimension of intrigue to your shots. Simply use masking tape to adhere the sheets to your wall.
Needing a blank base for your products to be placed on? Try out railroad boards.
Railroad boards may be meant for painting or printing, but they’re sturdy enough to deliver a solid base for your products, should you need it!
Having different backdrops or bases will help if you have multiple products to shoot on the same day – each product gets its own vibe!
Fenty Beauty does an amazing job at matching backdrops to whatever product they’re shooting:
We can’t forget the props! Small planters, mirrors, glitter, household items, and furniture can be fun props to help tie everything together.
But, be sure that whatever prop you use fits within your brand’s visual identity and your theme for the shoot.
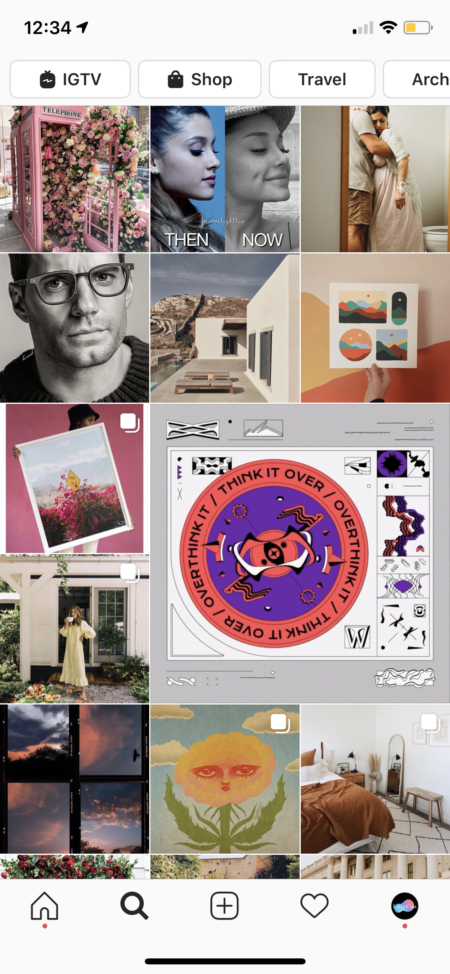
Not sure if your home studio set up is going to fit in with your feed?
You can use a visual planner like Later to see where your new images will sit in your Instagram feed.
If your test shots don’t look quite right, play around with your setting and props until the set seamlessly fits in with your feed aesthetic!
It’s a game of trial and error when you first start out, but the more you do it, the more natural it will feel to set up a home studio that represents your brand.
Home Photography Studio Tip #3: Shine Your Light
Although you’ve found a room with great natural light, having an extra pop of light will help the details of your products to really stand out – whether you’re shooting a product or a person!
Ring lights are the go-to for many content creators and influencers because they provide continuous and balanced lighting.
If you’re a more seasoned photographer, it may be beneficial to purchase a softbox set (you can find these relatively cheap on Amazon!).
Having a softbox set, as the name teases, allows you to control direct light and make it more diffused and soft.
Say you have a flashlight, and you shine it directly on a glass or plastic product in order to light up the product’s label for a shot. The beam of light would be very harsh against the glass or plastic, causing a glare when you take the photo.
So having something to diffuse that light (like a softbox) will boost the quality of your product shot!
Home Photography Studio Tip #4: Set Up Your Tripod with Specific Goals in Mind
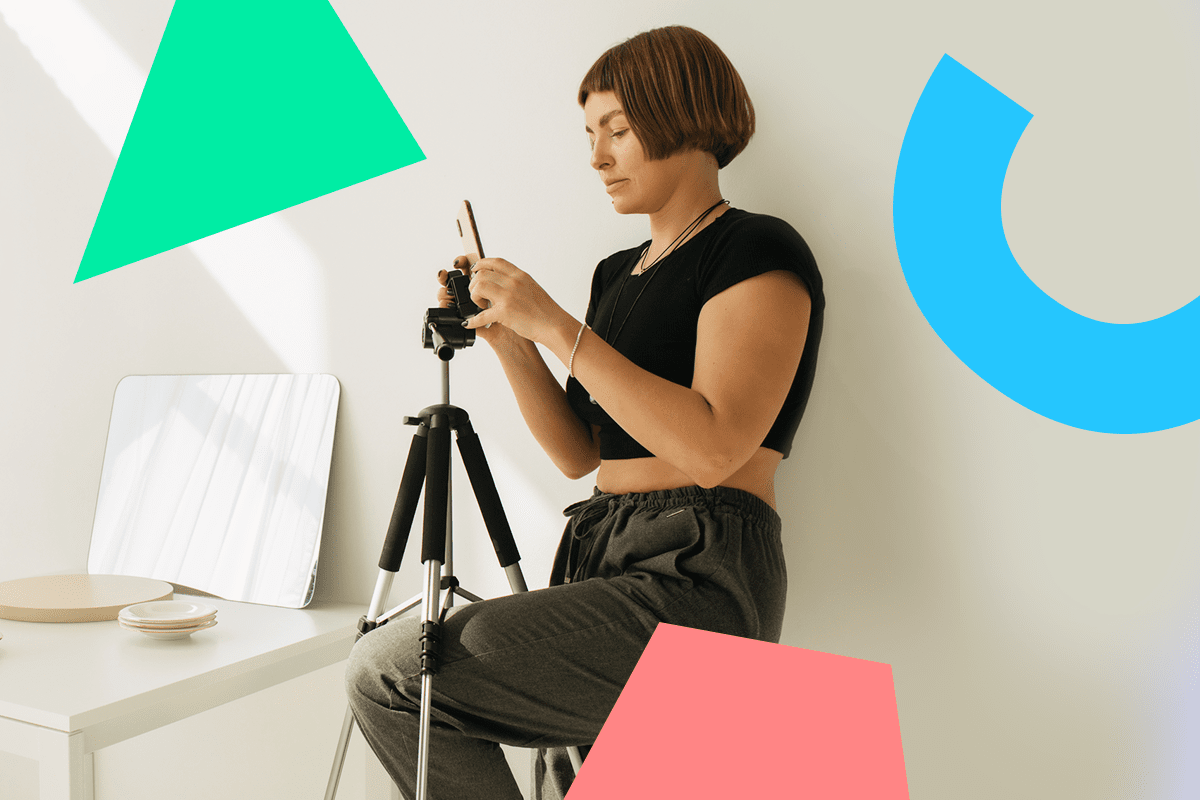
Once your scene is created, set up your tripod to figure out your exact framing and angles. If your tripod has a multi-angle center column, you can also test out shooting flat lay photos.
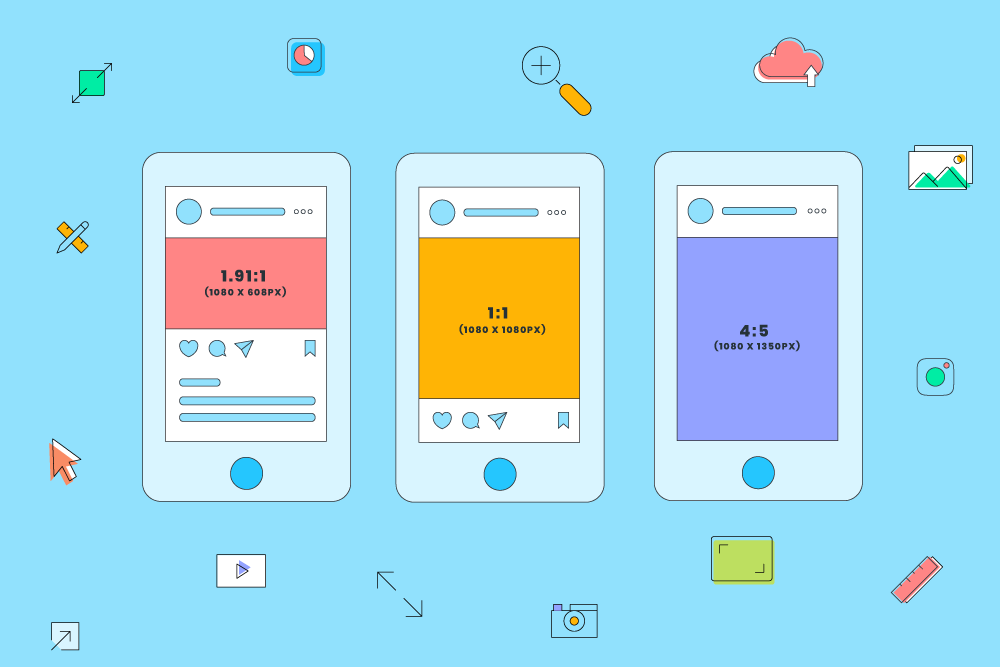
Take this moment to think about your needs for this shoot. Do you need square images for your Instagram feed? Do you need shots that are versatile enough to be vertical in Instagram Stories and square for the feed? Do you need landscape photos for banner images?
These needs will inform how you frame your shots in-camera.

TIP: Whether you’re shooting on your phone or with a DSLR camera, you’ll want to be sure that your scene is properly exposed. The more properly exposed during the shoot, the less you’ll have to edit later!
Working with your phone camera? No problem! Here’s a guide to taking gorgeous Instagram photos with your phone.
Home Photography Studio Tip #5: Get Creative!
When it comes to product photography, the more creative your shots are, the more engaged your social media audience will be with the content once it’s posted.
Vary up the angles in which you’re shooting the products. Try some overhead shots, but also try some eye-level shots.
Play with the depth of field on your camera and use different lighting styles to achieve different looks.
Use props, like plant leaves, to create dramatic shadows in your photo. The possibilities are endless!
Home Photography Studio Tip #6: Take it up a Notch with Stop Motion Animation
This easy trick can turn a simple product photo into an eye-catching GIF or video! And in a world where scroll-stopping content is essential, you’ll definitely want to give this a try.
Creators like Helmut Barroso create stop motion animations using Adobe Premiere Pro, but it’s easy to achieve the same effect on your phone with a mobile app like Life Lapse!
Remember, stop-motion animations are treated like videos in the Instagram feed, which can sometimes deliver higher engagement than a single image shot!
Thanks to the Instagram algorithm and videos appearing larger than other posts in the Explore page, there’s a lot more opportunity to garner engagement.

Plan, schedule, and post your videos to Instagram with Later!
Home Photography Studio Tip #7: Get a Second Opinion
We know it can be tough to be super creative when you’re by yourself, so if you need it, get a second opinion!
Have a co-worker or partner check out your set-up and collaborate on some ideas before you get super far into your shoot!
You could even use the Close Friends feature on Instagram to share a sneak peek of the shot with your closest followers. It could be a great way to get feedback and build some excitement with your Instagram community for your next launch!

Home Photography Studio Tip #8: Use Photo Editing Software for the Final Touch
So now, you’ve got some great shots to work with, but you want to give them that extra “oomph” of editing before posting.
If you’re photo editing-savvy, you might bring photos into Adobe Lightroom to correct colors or add a branded photo style.
But if not, mobile apps like A Color Story and VSCO do a great job of helping create professional-looking photos and branded photo styles in just minutes.
Want to learn more about photo editing apps? We have a rundown of our favorite apps and how to use them in this blog post!
That’s it — a few quick tips for helping you do your next product photography shoot in your own space!
Remember you don’t need to invest in an expensive photography kit if you’re just starting out in the world of at-home photography.
You experiment and play around with just your phone and some cute backdrops to achieve some great results for your brand’s Instagram feed.
Ready to kickstart your brand’s Instagram strategy? Start planning and scheduling your Instagram posts in advance with Later — for free!


